
Custom settings
This page covers the description of custom settings
Contents
Process Params
Document processing
Multipage processing
Allows to process more than one page of the document (if they are exist) for several iterations:
If multipage processing is enabled, the SDK processes the front side of the document recognizes document type and checks in the database how many pages are available for this document. If there are any child documents (second page, back side) for this document type, multipage processing is triggered. It concerns scenarios which recognize document type.
The only exception is MrzAndLocate and Locate scenarios. In this case, if SDK detects an ID1-sized document, it will ask for the second page. Multi-page processing is not triggered for documents of other formats.
Double-page spread processing
Allows to process up to two pages of the document (so-called "a double-page spread") for one-shot if they are presented on the frame (image):
This option is available for the following scenarios: DocType, Ocr, FullProcess, MrzOrBarcodeOrOcr, MrzOrOcr, LocateVisual_And_MrzOrOcr.
Authenticity
Allows you to define whether a document's holograms have to be checked:
Timeouts
Allows you to set the time limit for document recognition (in seconds), beyond which the recognition does not continue regardless of its result. The countdown starts from the moment the scenario starts:
Allows you to set the time limit for document recognition (in seconds), beyond which the recognition does not continue regardless of its result. The countdown starts from the moment the document is detected:
Allows you to set the time limit for document recognition (in seconds), beyond which the recognition does not continue regardless of its result. The countdown starts from the moment the document type is recognized:
Display formats
You can change the format string of displayed dates in the results. Mask examples: "dd/mm/yyyy", "mm/dd/yyyy", "dd-mm-yyyy", "mm-dd-yyyy", "dd/mm/yy":
If you want to change the measure system, use one of the RGLMeasureSystem members:
Logs
If set, SDK logs will be written to the logcat:
If set, logs will be saved (in case of reading problems). Turn on/off logs saving:
If set, input images will be saved (in case of reading problems). Turn on/off images saving:
If set, input images will be cropped and saved. Turn on/off image saving:
Allows to save RFID session data to the file in binary format:
Allows you to get the path to the folder of the current session. Before using this, enable save logs. Each new session provides different path:
If set, personal information will be removed from logs:
Scenario
Set proper scenario. You can find information of how to get available scenarios here:
You can assign a scenario to the Capture button. This scenario will be used if you press the button:
Barcode types
Set the types of barcodes that you wish to process:
There are documents that contain barcodes which data can be parsed only if document type verification is performed. The following property allows setting the barcode parser type which should be used during recognition. It allows parsing barcode data without performing document type verification:
Filters
Set the list of the document ID's to process. All documents will be processed, if empty:
If you read document which contains MRZ, all fields will be extracted. If you read document with OCR, you can set the list of field types that you wish to extract, other fields will be skipped during processing. All fields will be extracted, if the fieldTypesFilter is empty:
If set, in case required fields are not read, their values will be empty:
Detection
If you enable this parameter, document focus check will be omitted:
Allows you to set the maximum value of the deviation of the corners of the document from the value of 90 degrees:
Output images
If set, an original (uncropped) image will be received, which is sent to Core for processing:
Allows to build an integral image, taking into account the quality of fixation of each of the individual images:
Allows you to set the minimum acceptable DPI value:
If set, an image with cropped barcode will be returned:
Custom params
Allows you to set a custom JSON which should be processed along with other process params:
Bounds
Allows you to manually set the document's bounds:
Functionality
Camera Frame
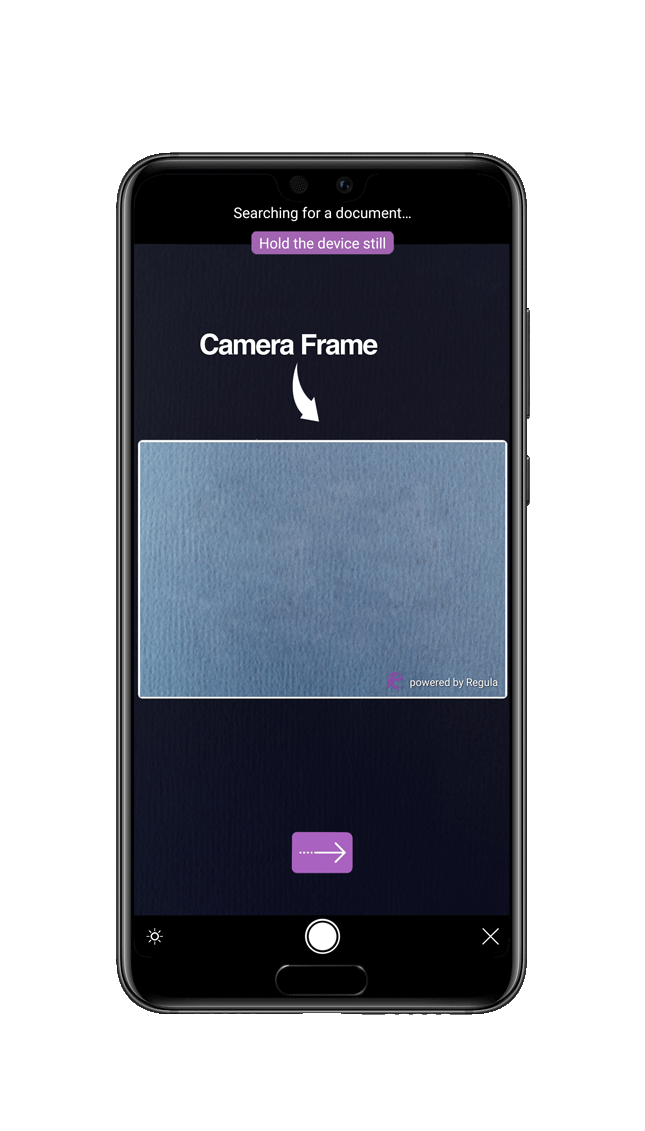
Set this setting to override default cropping frame on camera activity provided by scenario using one of DocReaderFrame members:
Frame is cropped by camera frame. If you set the camera frame to full screen, Core will crop frame by phone borders. Using this setting may lead to lower performance because of huge frame size. Any changes which are connected with camera frame alter scanning process. You can also set the camera frame width.
Buttons
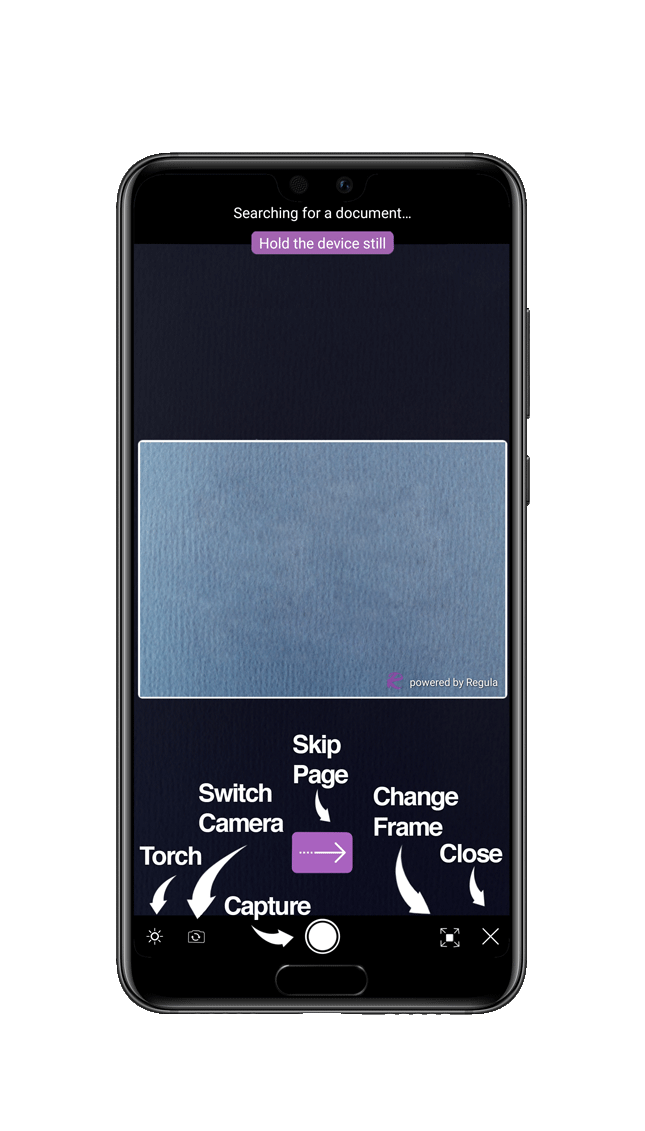
Show/hide torch button:
Show/hide close button:
Capture allows to take picture and process as a single frame. Show/hide capture button:
You can set the time interval when Capture button should be displayed after the document is detected. 5 seconds is used by default:
To use this setting you should enable the setShowCaptureButton() parameter.
You can set the time interval when Capture button should be displayed after the scanning process is started. 10 seconds is used by default:
To use this setting you should enable the setShowCaptureButton() parameter.
If set, frame expanding button will be shown on video capture screen. Show/hide change frame button:
Show/hide skip next page button:
Show/hide the button for switching between cameras during processing:
Allows you to disable all validations of having a torch in case Android returns that it's not available, but it can be used when checks are skipped:
Please use this setting at your own risk as the end app may crash.
Detection
DocumentReader will receive data from Motion Sensor and pause scanning when device is moving. Turn on/off video capture motion control:
If set, scanning will be paused while camera is focusing (it can decrease camera processing speed):
Orientation
Defines orientation of activities by using one of DocReaderOrientation members:
Scanning modes
Allows you to set the scanning mode:
If set, as soon as a document is detected during the scanning process, picture will be taken and processed as a single frame. It is used for devices with poor-quality video preview:
Allows you to control in the multipage processing mode:
Code samplesDo not use multipageProcessing and this one at the same time.
Video settings
Set the frame resolution, i.e. camera preview size:
Allows you to set a camera API:
Allows you to set a list of devices that must not use the camera2 API:
If set, allows you to adjust a zoom level using the pinch gesture (its range from 1x to 10x):
Allows you to set the desired zoom level (its range from 1x to 10x):
Allows you to record the scanning process:
Extra info
If set, the metadata will be displayed over the camera preview during document processing, namely the perspective angle value:
Customization
Camera Frame
Set thickness of document bounds border on the video preview (dp):
Hex string of document bounds border color in default state:
Hex string of document bounds border color in document detected state:
Defines the shape of document bounds border. Use one of FrameShapeType members:
Defines the length (dp) of the corner side in shape mode FrameShapeType.CORNER:
Frame is cropped by camera frame. Any changes with camera frame may alter scanning process. You can change the default camera frame view, even remove it. Discover Functionality page to find out how to do it.
Allows to change the corners' radius of the camera frame:
Allows to customize the beginning and ending of stroked lines of the camera frame:
Allows to specify the offsetWidth for the camera frame (only for the portrait orientation):
Allows to change the aspect ratio of the camera frame for portrait mode:
Allows to change the aspect ratio of the camera frame for landscape mode:
Allows to change the position of the camera frame vertically:
Buttons
Allows to change the Torch button's icon for both ON and OFF states:
Allows to change the Close button's icon:
Allows to change the Capture button's icon:
Allows to change the Change Frame button's icon for both ON and OFF states:
Allows to change the Camera Switch button's icon:
Allows you to change the size of the toolbar (the area where the buttons are located):
Status Message
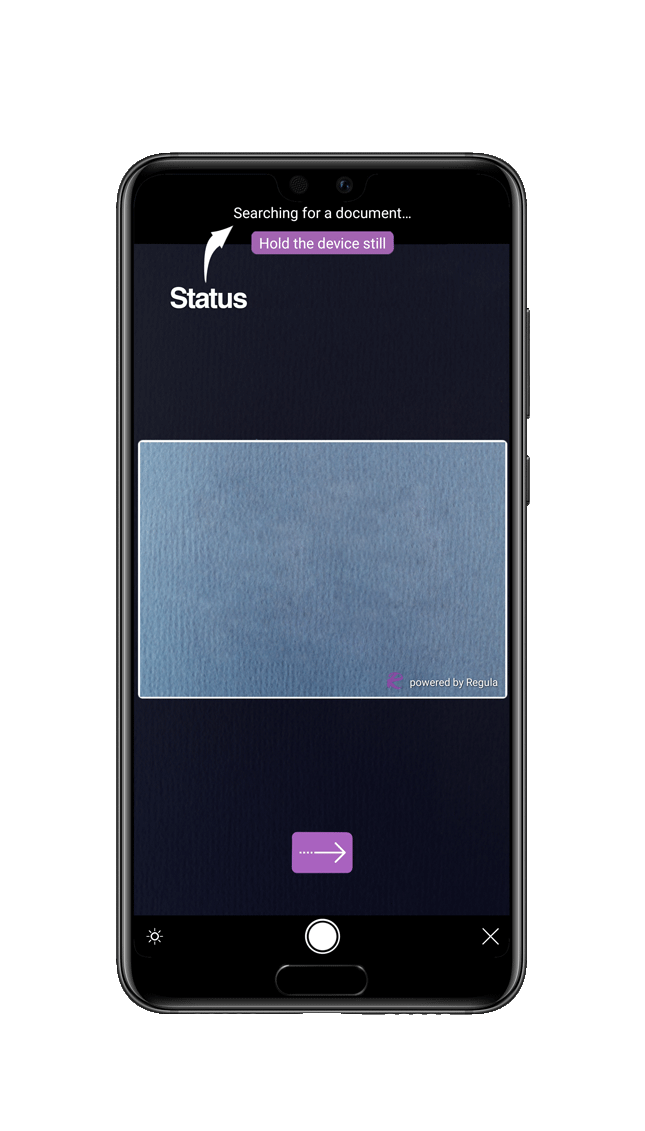
Set a status message next to the frame:
Turn on/off status message:
Set the text font for the status message, so-called hint message:
Size of main text status (sp):
Hex string of main text status color:
Hex string of current text status background color:
Allows you to change the location of the status. For example, if you set the multiplier to 0.5 and the number of pixels by vertical is equal to 800, your message will be centralized and located at 200 px from top, i.e. (800 / 2) * 0.5 = 200 px. If multiplier is equal to 1, the message will be centered. If multiplier is equal to zero, default location will be used:
Result Status Message
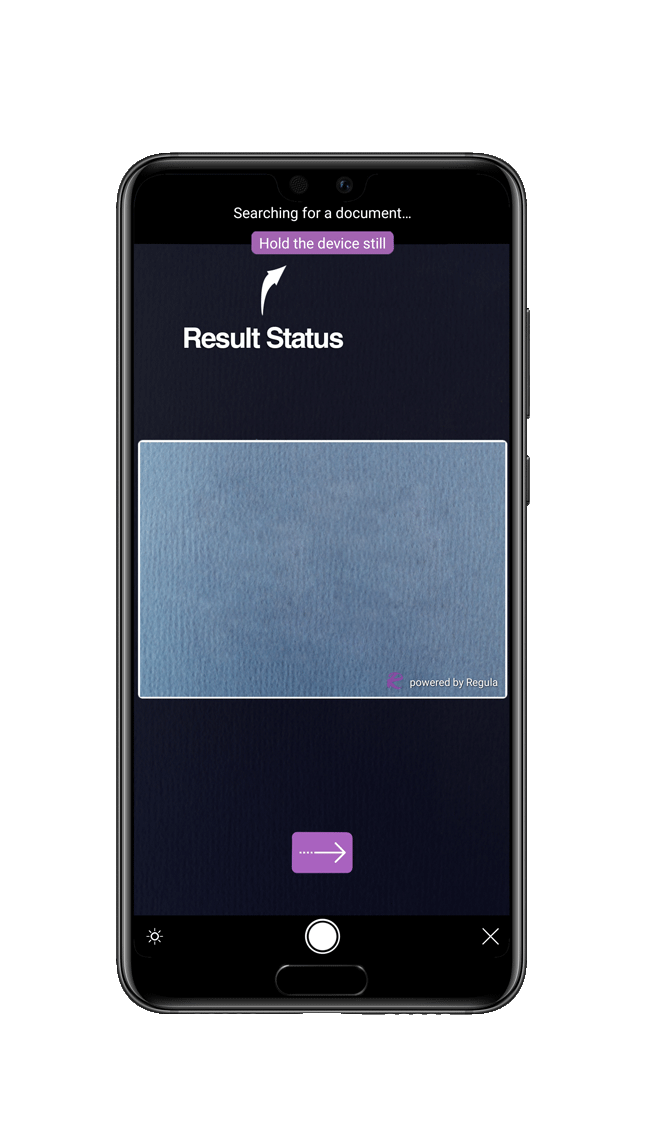
Set a result status message next to the frame:
Turn on/off result status message:
Set the text font for the current status:
Set the size of current text status (sp):
Hex string of current text status color:
Hex string of current text status background color:
Allows you to change the location of the results status. For example, if you set the multiplier to 0.5 and the number of pixels by vertical is equal to 800, your message will be centralized and located at 200 px from top, i.e. (800 / 2) * 0.5 = 200 px. If multiplier is equal to 1, the message will be centered. If multiplier is equal to zero, default location will be used:
Custom Status Message
Allows to create a custom status as SpannableString:
Allows you to change the location of the custom status. For example, if you set the multiplier to 0.5 and the number of pixels by vertical is equal to 800, your message will be centralized and located at 200 px from top, i.e. (800 / 2) * 0.5 = 200 px. If multiplier is equal to 1, the message will be centered. If multiplier is equal to zero, default location will be used:
Animation
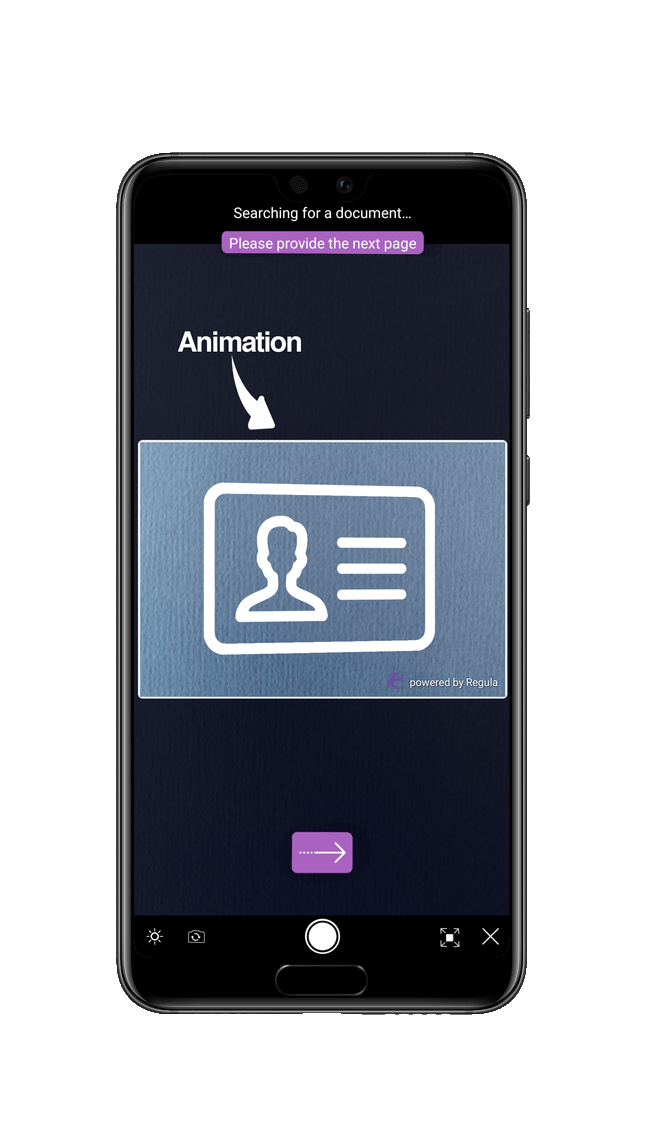
If set, animation showing how to position document will be displayed. Show/hide help animation:
You can set image for the help animation. If not set, default image will be used:
Allows to change the scaling of the help animation image, use one of ImageView.ScaleType members:
If set, expecting page turn animation will be shown. Turn on/off next page animation:
You can set front image for the multipage animation. If not set, default image will be used:
Allows to change the scaling of front image of the multipage animation, use one of ImageView.ScaleType members:
You can set back image for the multipage animation. If not set, default image will be used:
Allows to change the scaling of back image of the multipage animation, use one of ImageView.ScaleType members:
Visual Elements
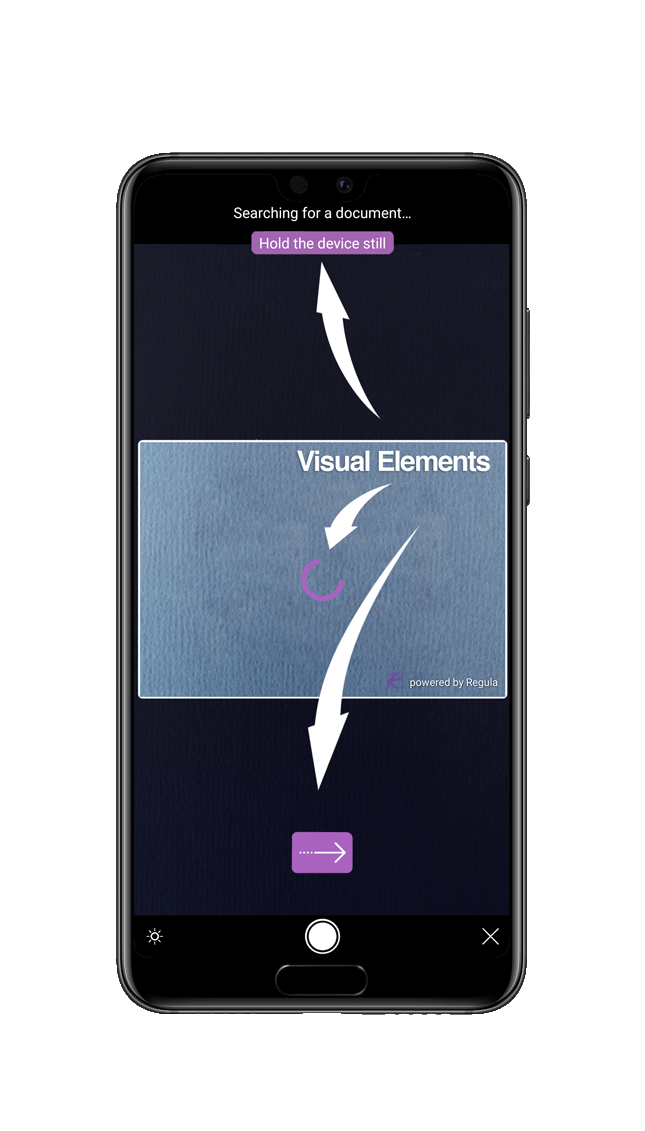
Hex string of visual elements color (one for all):
Skip Button
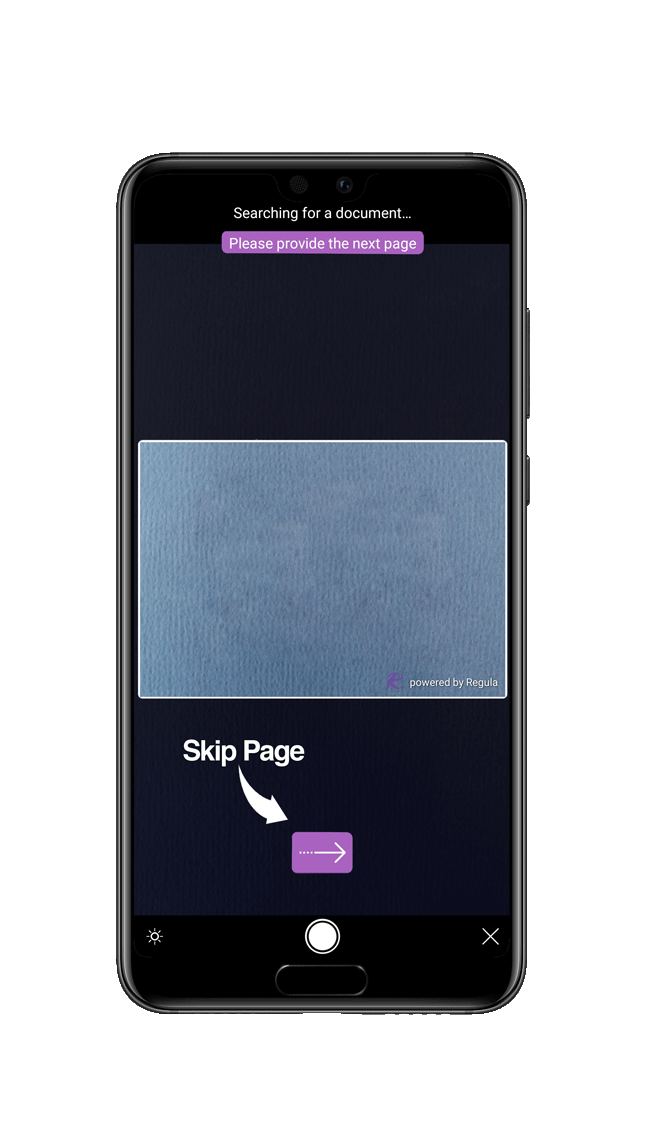
Set the background color to the multipage button:
Loading Indicator
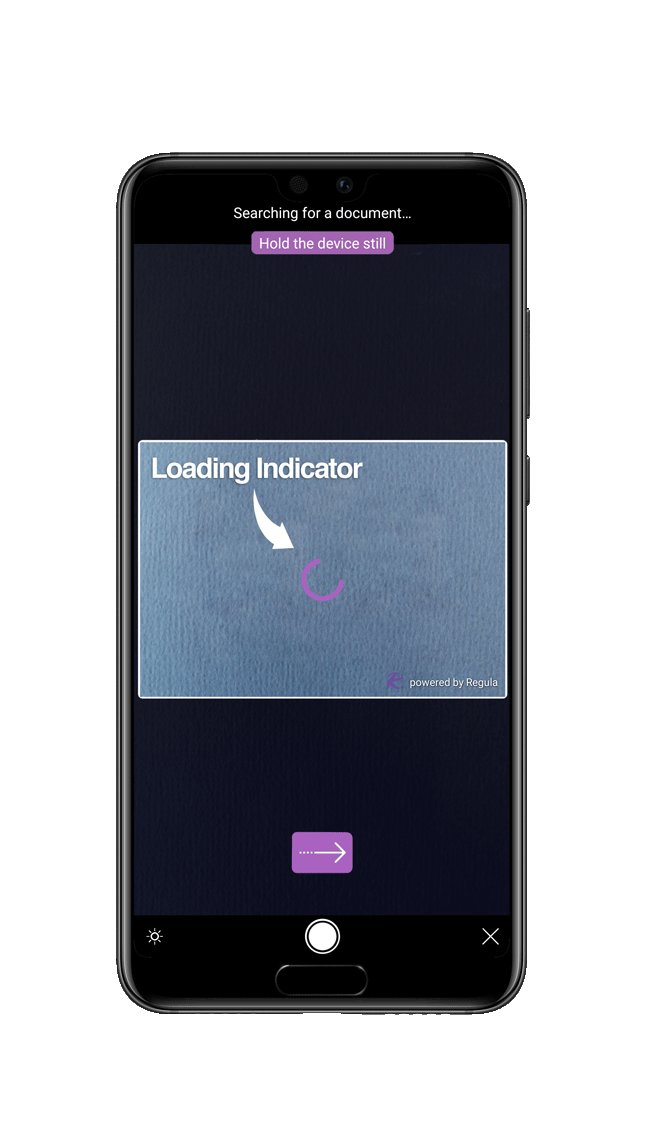
Hex string of loading indicator(s) color. You can see it if you press the capture button:
Background

If set, background will be darkened around the document detection frame. Show/hide background mask:
Allows to change the intensity of the background mask:
Allows to set image within camera frame:
RFID
Allows you to automatically change the scenario settings depending on the type and results obtained during scanning of the last document. Default value is true:
Allows to set an authentication procedure type, conducting which is expected in the presence of all the objective conditions:
Allows to set a type of priority mechanism for organizing SM-channel (Security Messaging - a mechanism of protected data exchanging):
Allows to set a data access type for PACE procedure:
Priority of using DS-certificates:
Use of CSCA-certificates submitted by individual data files only:
Level of trust to CSCA-certificates from PKD:
Logical sign of passive authentication performance:
Logical sign of the cancellation of active authentication procedure (AA) after the successful performance of chip authentication (CA) procedure:
Selection of the type of logical data profiler to use with the electronic document:
Strict ISO protocol:
Allows to specify whether the ePassport has to be read or not:
Allows to specify which data groups of the ePassport have to be read:
Allows to specify whether the eID has to be read or not:
Allows to specify which data groups of the eID have to be read:
Allows to specify whether the eDL has to be read or not:
Allows to specify which data groups of the eDL have to be read:
Last updated